
My Wood Range Hood Build Experience
An acquaintance of mine was renovating the kitchen of a 1950’s house in my neighborhood. They were aware of my woodworking skills and posed a simple question to me – could I build a wood range hood for them? Always up for a challenge I responded with, “well, I never have, but I suppose I could”. Seemed like a straight forward enough project – no big deal. It’s hilarious how there are times when our first reactions are so far out of wack with reality. The reality is that determining every measurement and saw cut would take twice as long as the actual work. Which resulted in the finished project taking three times as long to complete as I had estimated.
The following photos and captions highlight every challenging step of the journey.

A scale drawing was made. Fabrication details not yet determined.

How to build it? This is where the real challenge begins. Up to now the design is all theory and pretty pictures.
More detailed drawings and sketches were made almost daily.
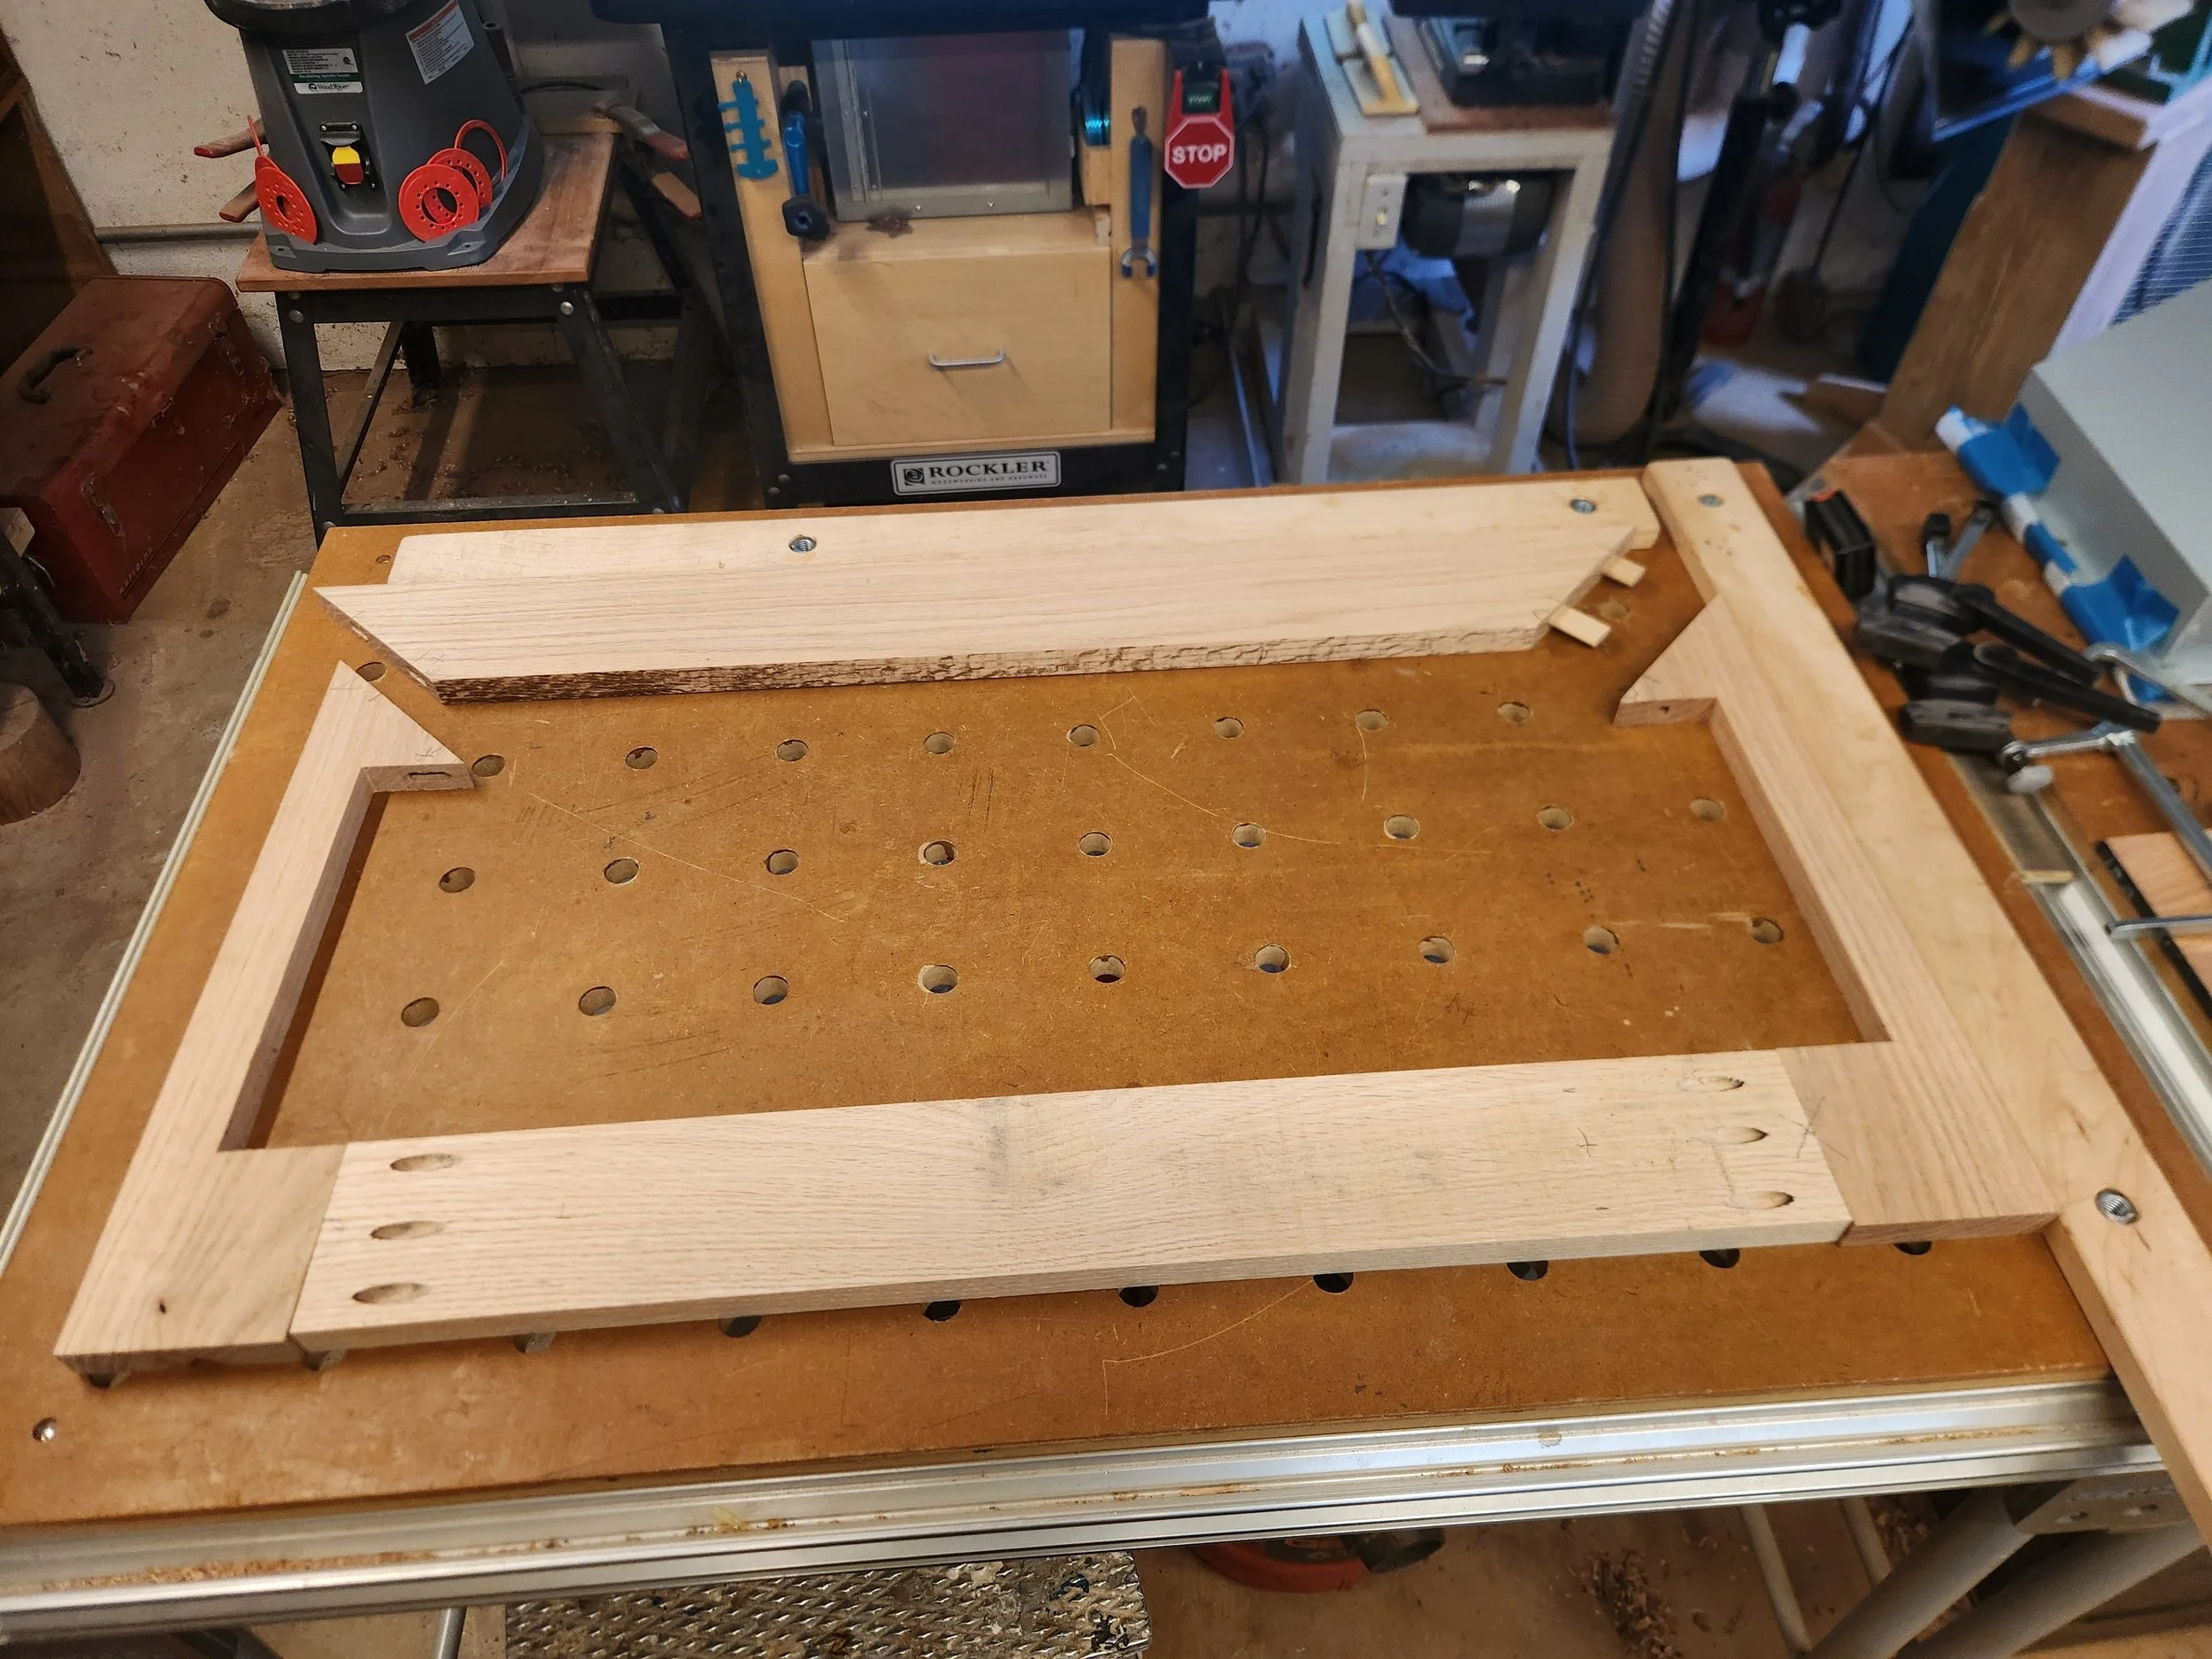
Pieces for the base are 7/8” thick. Joined together with Festool Dominos and Kreg pocket screws.

Building the frame took the most time.
The constraints were plentiful:
· Needed to fit precisely between the two adjacent upper cabinets
· The fan unit was bulky and oddly shaped
· The 6” exhaust duct went vertically up into the attic and fit between two closely spaced ceiling joists
· The entire unit was heavy. It is entirely supported by two wall studs, which fortuitously were positioned close to the center of the hood.
A box was built on top of the base.
Yellow pine horizontal boards to attach the front panel.
More yellow pine boards to attach the two side panels.
Small angled pieces of yellow pine stick up from the box to attach the front panel.

The oak panel boards are 3/8” thick. They fit together with a half lap joint.

The panel boards are then glued down to ½” thick plywood.
1” thick maple boards are used to securely clamp down the panel boards to the plywood. To ensure that the glue joint is permanent the clamps provided full surface pressure for two days.


Front panel secured in place. Both glue and screws were used.
Inside the box

I waited until the panels were installed to figure out how to build the top piece. My brain was totally fried from having to figure out each previous step. There was never any no room for fudging.
After the unit is secured to the wall this top piece slides into place.
The sketch shows three other methods that were “X’d” out.
The small piece of quarter round at the top (part H) was installed after the top piece was in place so it would be flush up to the ceiling.

Three piece crown mold was shop made.


There is a small brass screw at the two side corners. When removed the entire top piece can slide out.

Complete and ready for installation
COMPLETE
Almost a full day onsite doing the installation.
It’s done.
It works.
I am so thankful.
Now….what am I going to obsess over when I go to sleep each night?